
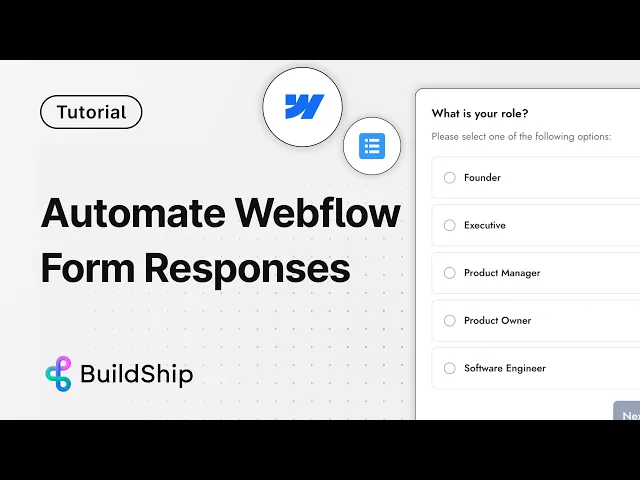
Every serious website has forms—contact forms, feedback forms, feature request forms, and more! Contact forms serve as a crucial bridge between businesses and their customers.
However, a standard contact form often falls short in capturing valuable customer insights and automating meaningful interactions. But what if you could automate the entire process?
Instead of manually handling submissions, you can set up a BuildShip workflow that takes the form data, categorizes it, sends it to any email tool, and formulates a reply to the sender.
And that’s just the beginning! You might also want to save the information in a database or generate a new mailing list. The possibilities are endless.
In this blog post, we'll explore how you can transform your Webflow contact form by integrating it with BuildShip's low-code backend, enabling you to collect deeper customer data, automate responses, and connect to various tools and databases.
Step 1: Setting Up the Webflow Trigger in BuildShip
To begin, create a new workflow in BuildShip and add a Webflow trigger.

Authenticate and grant BuildShip access to the Webflow site containing the form you want to automate. Navigate to your Webflow dashboard, locate your website's settings section, and copy the site ID from the bottom of the general page. Paste this ID into the corresponding field in the Webflow trigger. Select "Form Submission" as the trigger type and leave the filter blank for now.

Navigate to your Webflow dashboard, locate your website's settings section, and copy the site ID from the bottom of the general page.

Paste this ID into the corresponding field in the Webflow trigger. Select "Form Submission" as the trigger type and leave the filter blank for now.

Step 2: Configuring the Webhook in Webflow
After setting up the trigger, publish your changes in BuildShip. This action automatically creates a webhook in the apps and integration section of your Webflow website. Scroll down to the bottom of the page, and you'll find a "Form Submission API Version 2" linked to your BuildShip workflow. Publish your Webflow website and send a test contact form to verify that BuildShip has access to all the form fields.

Step 3: Accessing Form Data in BuildShip
Once a contact form is submitted, head to the logs in BuildShip to view the successful Webflow trigger.

BuildShip provides access to the header data and, most importantly, the payload in the body, which contains all the fields included in your form. This data serves as the foundation for automating and enriching your customer interactions.

Step 4: Enriching Customer Data with Apollo
BuildShip offers a wide range of nodes and integrations to help you enrich the form data and gain valuable insights.

In this example, we'll demonstrate how to use the Apollo Enrich People Data node to obtain a deeper understanding of the customer who submitted the contact form.

Follow the detailed explainer video here to set up the Apollo node, securely store your API key in BuildShip secrets, and input the customer's email obtained from the Webflow form payload (data.email).

Step 5: Getting Customer Insights
After setting up the Apollo node and adding a return node, send a test contact form and examine the logs.

You'll discover a wealth of insights about your customer, empowering you to engage with them meaningfully. Apollo provides comprehensive details about the customer's profile, enabling you to track past interactions, predict future needs, and identify the most effective sales channels. By combining BuildShip, Webflow, and Apollo, you can ensure that every follow-up is informed and impactful, transforming potential leads into loyal customers.

For a complete video guide on the above tutorial, click below:
Conclusion
Transforming your Webflow contact form into a powerful customer insights tool is a game-changer for businesses looking to enhance their customer engagement strategies. By integrating Webflow with BuildShip's low-code backend and using the capabilities of Apollo, you can automate responses, gather deeper customer data, and connect to various tools and databases. This approach ensures that every interaction with your customers is personalized, informed, and impactful, ultimately leading to increased conversions and customer loyalty.


